
How to Sprout Moringa Seeds
How to Sprout Moringa Seeds
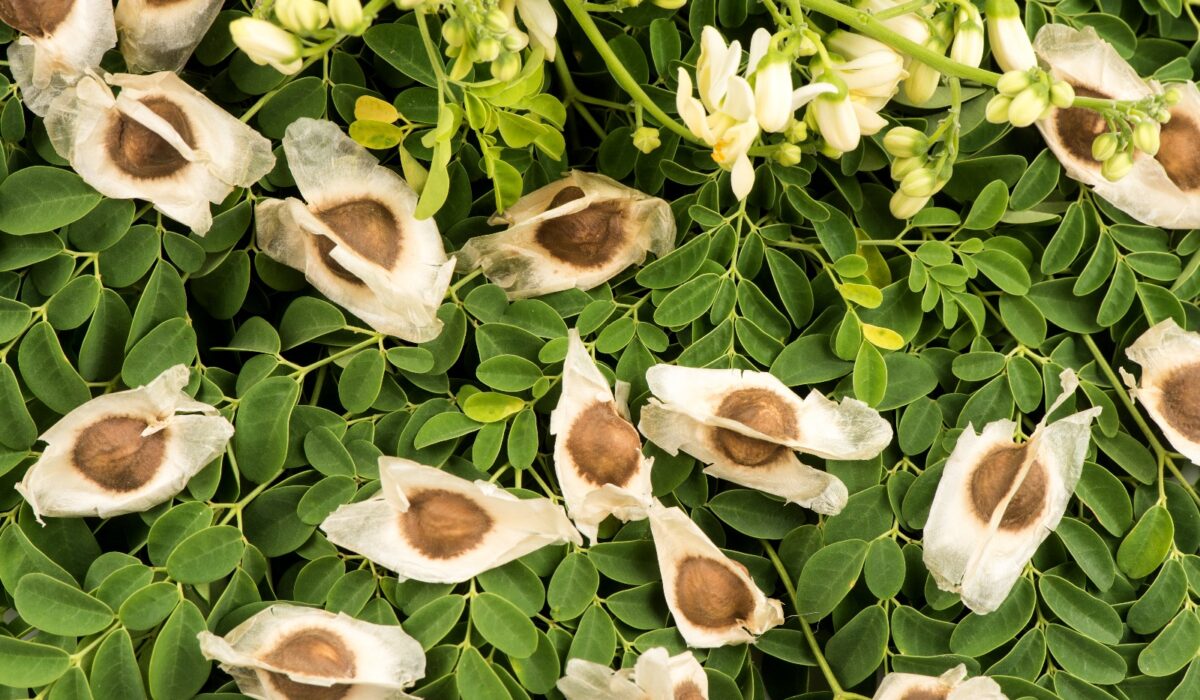
The Moringa tree is a highly valued plant that is native to the Himalayan regions of India. This versatile tree is renowned for its multiple health benefits and is often referred to as the “miracle tree.” Moringa seeds are one of the most nutrient-rich parts of the tree and are used to make various food and medicinal products. Sprouting Moringa seeds is an excellent way to unlock their full nutritional potential and enjoy their numerous health benefits.
Sprouting Moringa seeds enhances their nutritional value by increasing the amount of vitamins, minerals, and enzymes. When Moringa seeds are sprouted, they transform into nutrient-rich sprouts that are easy to digest and highly nutritious. By sprouting Moringa seeds, you can experience a boost in energy levels, improved digestion, and better overall health.
In this article, we will explore the benefits of sprouting Moringa seeds, the importance of sprouting Moringa seeds for optimal health benefits, and the process of sprouting Moringa seeds at home. Whether you’re looking to improve your health or simply interested in trying a new, nutritious food, sprouting Moringa seeds is a great place to start.

Materials Needed for Sprouting
Sprouting Moringa seeds is a simple and easy process that requires only a few materials. In order to get started, you’ll need the following items:
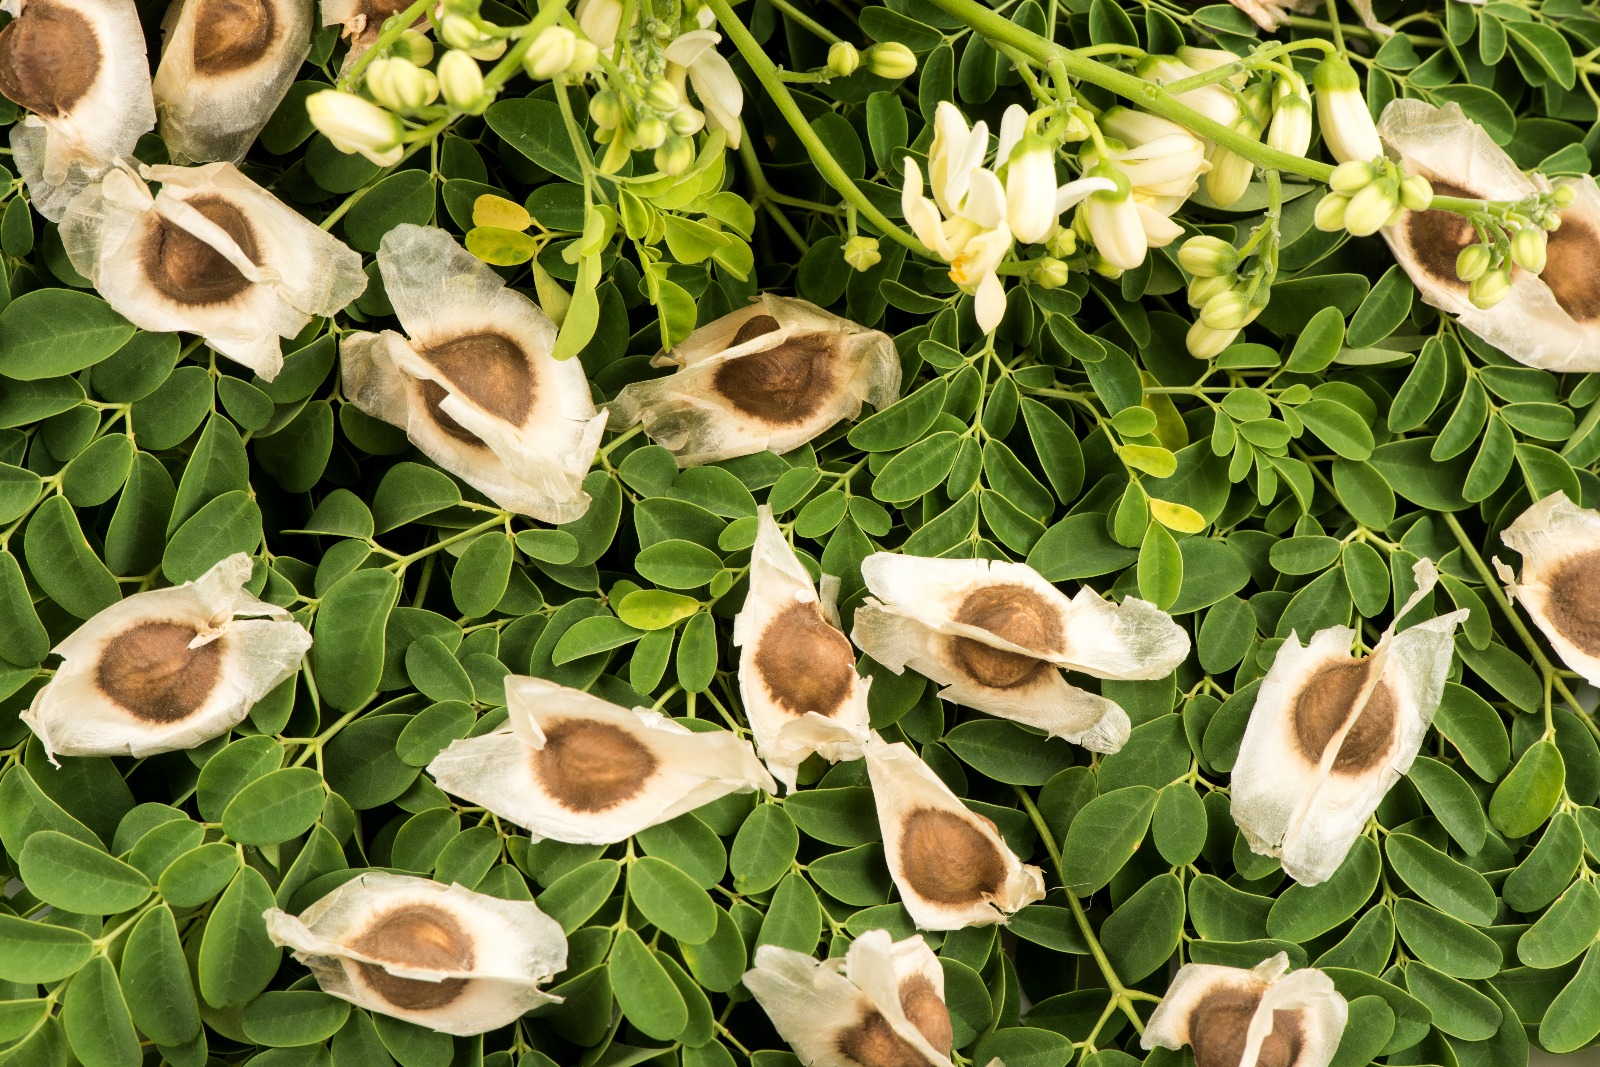
- Moringa Seeds – The first and most important ingredient for sprouting Moringa seeds is, of course, Moringa seeds. You can purchase Moringa seeds online or at a local health food store. Make sure to choose high-quality seeds that are free from any chemicals or contaminants.
- Sprouting Jar or Container – The next item you’ll need is a sprouting jar or container. A sprouting jar is a specialized jar that is designed specifically for sprouting seeds. You can also use a mason jar or another type of container that has a tight-fitting lid.
- Cheesecloth or Sprouting Lid – A cheesecloth or sprouting lid is necessary to cover the jar and allow the seeds to sprout properly. The cheesecloth or lid will allow air to circulate while keeping the seeds moist.
- Water – The final ingredient for sprouting Moringa seeds is water. It is important to use fresh, clean water for sprouting to avoid any contamination.
With these four materials, you’re ready to start sprouting Moringa seeds. Whether you’re a seasoned sprouting enthusiast or a beginner, sprouting Moringa seeds is a fun and easy process that will provide you with a nutritious and tasty food.
Preparing the Moringa Seeds
Preparing the Moringa seeds is a crucial step in the sprouting process. To get started, you’ll need to soak the Moringa seeds in water. Here’s a step-by-step guide on how to prepare the Moringa seeds for sprouting:
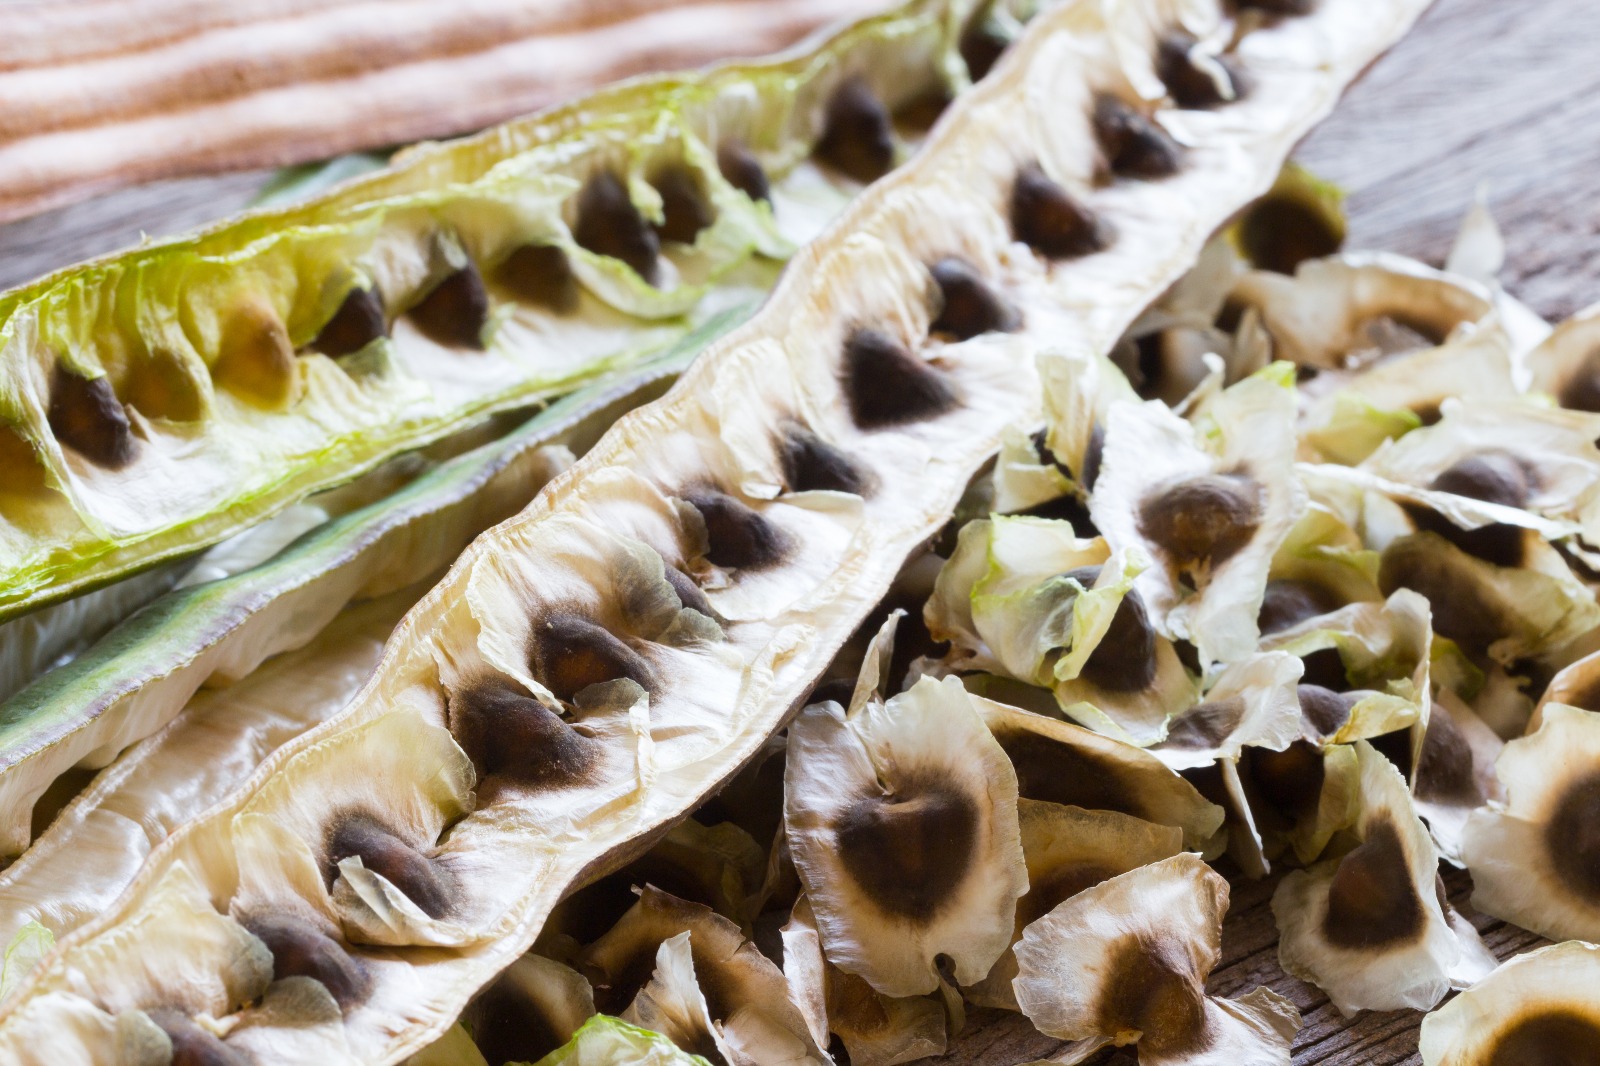
- Soaking Moringa Seeds in Water – Start by filling a bowl with water and adding the Moringa seeds. Let the seeds soak for 6 to 8 hours, or overnight. This will help to activate the seeds and start the sprouting process.
- Rinsing and Draining the Seeds – After the seeds have soaked, drain off the water and rinse the seeds thoroughly. Make sure to remove any debris or unfilled seeds from the mix.
- Preparing the Sprouting Jar or Container – After rinsing the seeds, place them in the sprouting jar or container. Fill the jar with fresh water, making sure to cover the seeds completely. Then, drain off the water and add the cheesecloth or sprouting lid to the jar.
By following these steps, you’ll have prepared the Moringa seeds for sprouting. With the seeds now ready, you can move on to the next step in the sprouting process. By following these steps carefully, you’ll ensure that your Moringa seeds sprout evenly and provide you with the maximum health benefits.
Sprouting Moringa Seeds
Sprouting Moringa seeds is a simple and straightforward process that can be done in just a few easy steps. By following these steps, you’ll be able to grow your own nutritious and delicious Moringa sprouts in no time. Here’s how to sprout Moringa seeds:
- Placing the Soaked Seeds in the Sprouting Jar – After preparing the Moringa seeds, place them in the sprouting jar or container. Make sure that the seeds are spread evenly in the jar and that they are not packed too tightly.
- Covering the Jar with Cheesecloth or a Sprouting Lid – After placing the seeds in the jar, cover the jar with cheesecloth or a sprouting lid. This will allow air to circulate while keeping the seeds moist.
- Rinsing and Draining the Seeds Regularly – To ensure that the Moringa seeds sprout evenly and properly, it is important to rinse and drain the seeds regularly. Do this at least twice a day. The sprouts will need plenty of water to grow, so make sure to add enough water to cover the seeds each time you rinse them.
- Monitoring the Sprouts for Optimal Growth – As the Moringa seeds sprout, it is important to monitor the growth of the sprouts. Look for any signs of mold or spoilage, and make sure to remove any sprouts that are not growing well. The Moringa sprouts should be ready to harvest in about 4 to 7 days, depending on the temperature and humidity in your area.
By following these steps, you’ll be able to grow your own Moringa sprouts in no time. Whether you’re looking to add more nutrients to your diet, or you simply want to grow your own food, Moringa sprouts are a great choice. With their high levels of vitamins, minerals, and antioxidants, they are a nutritious and tasty addition to any meal.

Storing Sprouted Moringa Seeds
Storing Sprouted Moringa Seeds is an important step in ensuring that your sprouts stay fresh and nutritious for as long as possible. Here’s how to store your sprouted Moringa seeds:
A. Refrigerating the Sprouts – The best way to store Moringa sprouts is in the refrigerator. To do this, simply place the sprouts in an airtight container and store them in the refrigerator. The sprouts will stay fresh for up to a week when stored this way.
B. Freezing the Sprouts – Another option for storing Moringa sprouts is to freeze them. To freeze the sprouts, simply place them in an airtight container and store them in the freezer. The sprouts will stay fresh for up to six months when stored this way.
C. Drying the Sprouts – If you don’t have access to a refrigerator or freezer, you can also dry the sprouts and store them in an airtight container. To dry the sprouts, simply spread them out on a sheet of parchment paper and place them in a warm, dry place for a few days. Once the sprouts are fully dry, you can store them in an airtight container.
Regardless of how you choose to store your sprouted Moringa seeds, it is important to make sure that they are stored in an airtight container. This will help to keep the sprouts fresh and prevent them from spoiling. With the right storage techniques, your Moringa sprouts will stay fresh and nutritious for as long as possible.

Common Problems and Solutions
Growing Moringa seeds can be a rewarding experience, but like any gardening project, it can also come with its own set of challenges. Here are some common problems and solutions for growing Moringa seeds:
A. Slow or No Germination – If your Moringa seeds are not sprouting or are sprouting very slowly, there are a few potential causes. One possible cause is that the seeds are too old and are no longer viable. Improper storage may have damaged the seeds. To solve these issues, make sure to store your Moringa seeds in a cool, dry place and to use fresh seeds.
B. Moldy Sprouts – Mold is a common issue when growing Moringa seeds. To avoid mold, make sure to rinse and drain the seeds regularly and to keep the sprouting jar or container clean. If you do encounter mold, discard the affected sprouts and start over with fresh seeds.
C. Yellow or Wilted Sprouts – Yellow or wilted sprouts can be a sign that the sprouts are not getting enough light or are being over-watered. To avoid this, make sure to place the sprouting jar or container in a bright location and to only water the sprouts as needed.
D. Pests – Pests like aphids and mites can also be a problem when growing Moringa seeds. To avoid pests, make sure to keep the sprouting jar or container clean and to inspect the sprouts regularly for any signs of pests. If you do encounter pests, you can try using natural solutions like neem oil or essential oils to control them.
By taking the time to troubleshoot any issues that may arise, you can ensure that your Moringa seeds grow into healthy, thriving sprouts. With the right care and attention, you can enjoy the many health benefits that Moringa sprouts have to offer.
In Summary
Sprouting Moringa seeds is a simple and rewarding process that can provide numerous health benefits. Whether you’re a seasoned gardener or a beginner, by following the steps outlined in this article, you can successfully grow your own Moringa sprouts.
To recap, it’s important to soak the Moringa seeds in water, rinse and drain them regularly, and store them in a clean, bright location. By doing so, you can avoid common issues like slow germination, mold, yellow or wilted sprouts, and pests.
The health benefits of sprouted Moringa seeds are numerous, making them a valuable addition to any diet. From providing essential vitamins and minerals to supporting a healthy immune system, there are many reasons to include Moringa sprouts in your meals.
So why wait? Start sprouting Moringa seeds today and enjoy the many health benefits that come with them. With the right materials and a little bit of patience, you can grow your own sprouts and start reaping the benefits in no time!
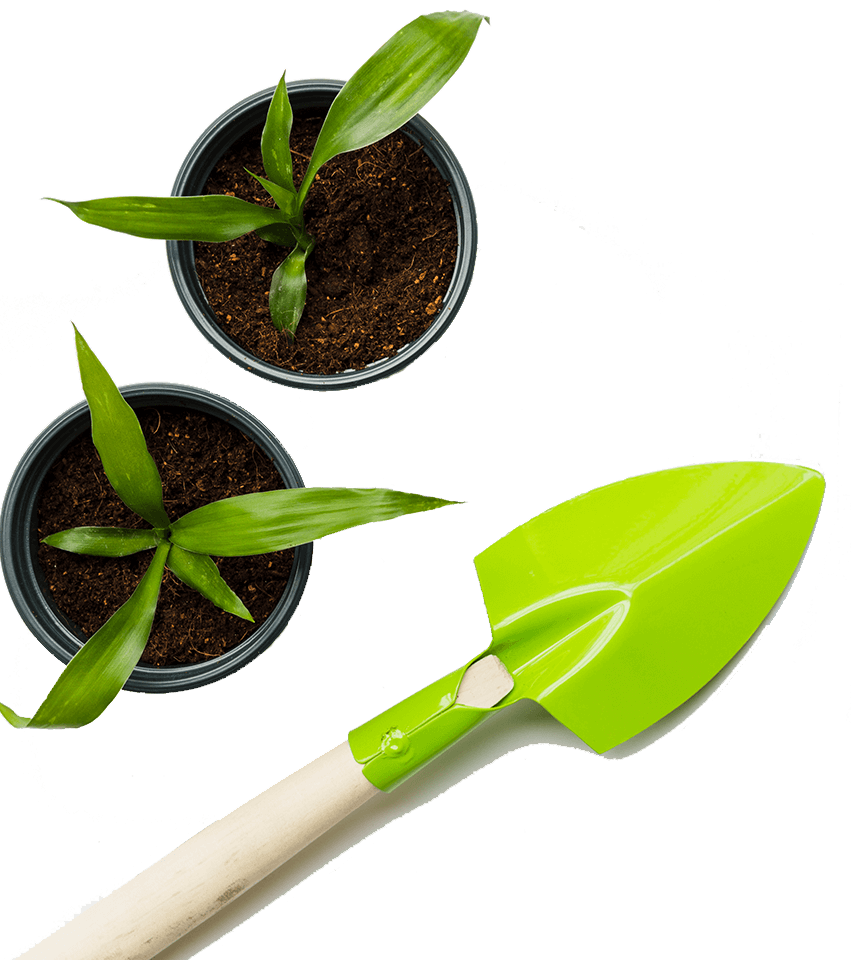
How you can grow a moringa plant from a seed thinks to note down ensure you have fresh moringa seeds that are sourced from a reputable supplier. Start by preparing a well-draining potting mix, combining equal parts of compost, sand, and loam soil. Fill a small seed tray or pot with the mixture, leaving about an inch of space from the top. Place one or two moringa seeds in each hole, covering them with a thin layer of soil. Water the seeds gently, ensuring the soil remains consistently moist but not overly saturated.

Moringa Seed Pesto Pasta Recipe
Ingredients:
- 1 cup fresh Moringa seeds, sprouted
- 1 cup fresh basil leaves
- 1/2 cup freshly grated Parmesan cheese
- 1/2 cup olive oil
- 3 cloves garlic
- Salt and pepper, to taste
- 1 pound pasta of your choice
Instructions:
- Rinse and drain the sprouted Moringa seeds and set aside.
- In a food processor or blender, combine the Moringa seeds, basil, Parmesan cheese, olive oil, garlic, salt, and pepper. Blend until a smooth pesto is formed.
- Cook the pasta according to package instructions, until al dente. Drain and set aside.
- In a large saucepan, heat the Moringa pesto over medium heat, stirring occasionally, until it is heated through.
- Add the cooked pasta to the saucepan and toss until the pasta is well coated with the pesto.
- Serve hot, garnished with additional Parmesan cheese, if desired.
This delicious pesto pasta dish is a great way to incorporate Moringa seeds into your diet. The sprouted Moringa seeds add a nutritious punch to the classic basil pesto, making this dish not only delicious but also healthy. Enjoy!
References
https://www.trueleafmarket.com/products/moringa-seeds
Moringa With Barry stores offer a variety of moringa products. These include: Moringa Powder, Moringa Tea, Moringa Capsules and Moringa Oil.
Read More:
- Growing Moringa Plant from Seed: A Step-by-Step Guide
- Are Moringa Seeds Safe to Eat? Exploring Their Edibility
- Are Moringa Seeds Good for You? Unveiling Their Nutritional Benefits
- How Moringa Seeds Purify Water: Harnessing their Water Purification Properties
- How Moringa Powder is Made: From Harvest to Fine Ground
1 Comment